We have automated file syncing with SharePoint to save time, reduce manual uploads, and keep your team and supply chain aligned with the latest document versions.
This guide provides a step-by-step process for integrating files and folders from SharePoint with your project on E1.
Before you can use the SharePoint integration, an administrator on your Microsoft account needs to grant admin consent to our application. This allows our app to automatically maintain the synchronisation between a SharePoint site/drive and E1 behind the scenes.
Click here for a guide to granting admin consent.
1. Access the SharePoint Integration Setup
- Navigate to the Documents page within your project
- If you are using the Project Setup Wizard, you will also find the integration button there
- Click ‘Setup Integration’
Note that this step is completed at an individual project level, each time you create a project

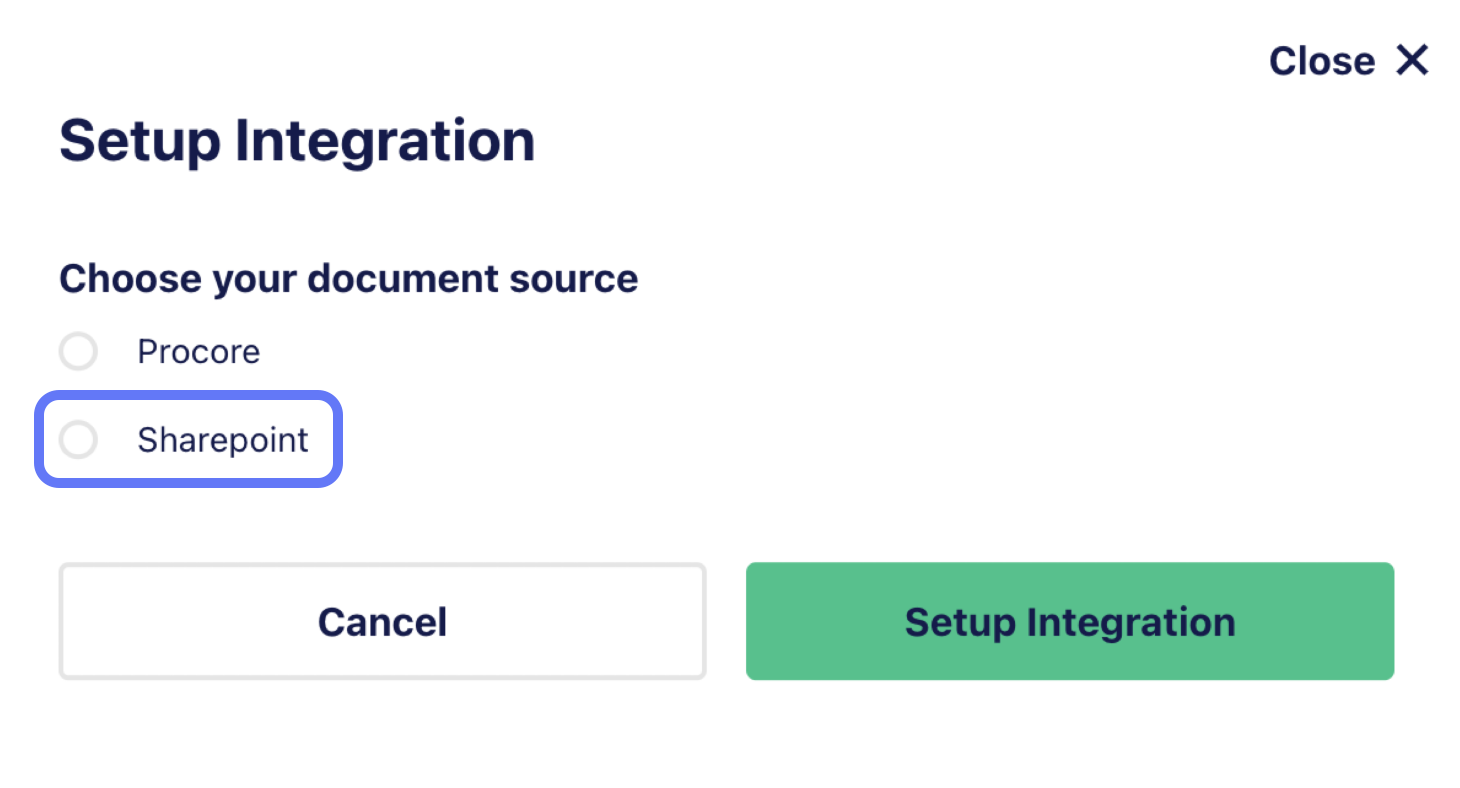
2. Select SharePoint as the Integration Option
- If multiple integrations are available, select SharePoint
- If SharePoint is the only available option, you will be directed to the next step automatically
3. Authenticate with Microsoft
- Clicking Set Up Integration will redirect you to Microsoft authentication
- Sign in with your Microsoft credentials
- Once authenticated, you will be redirected back to the integration setup page
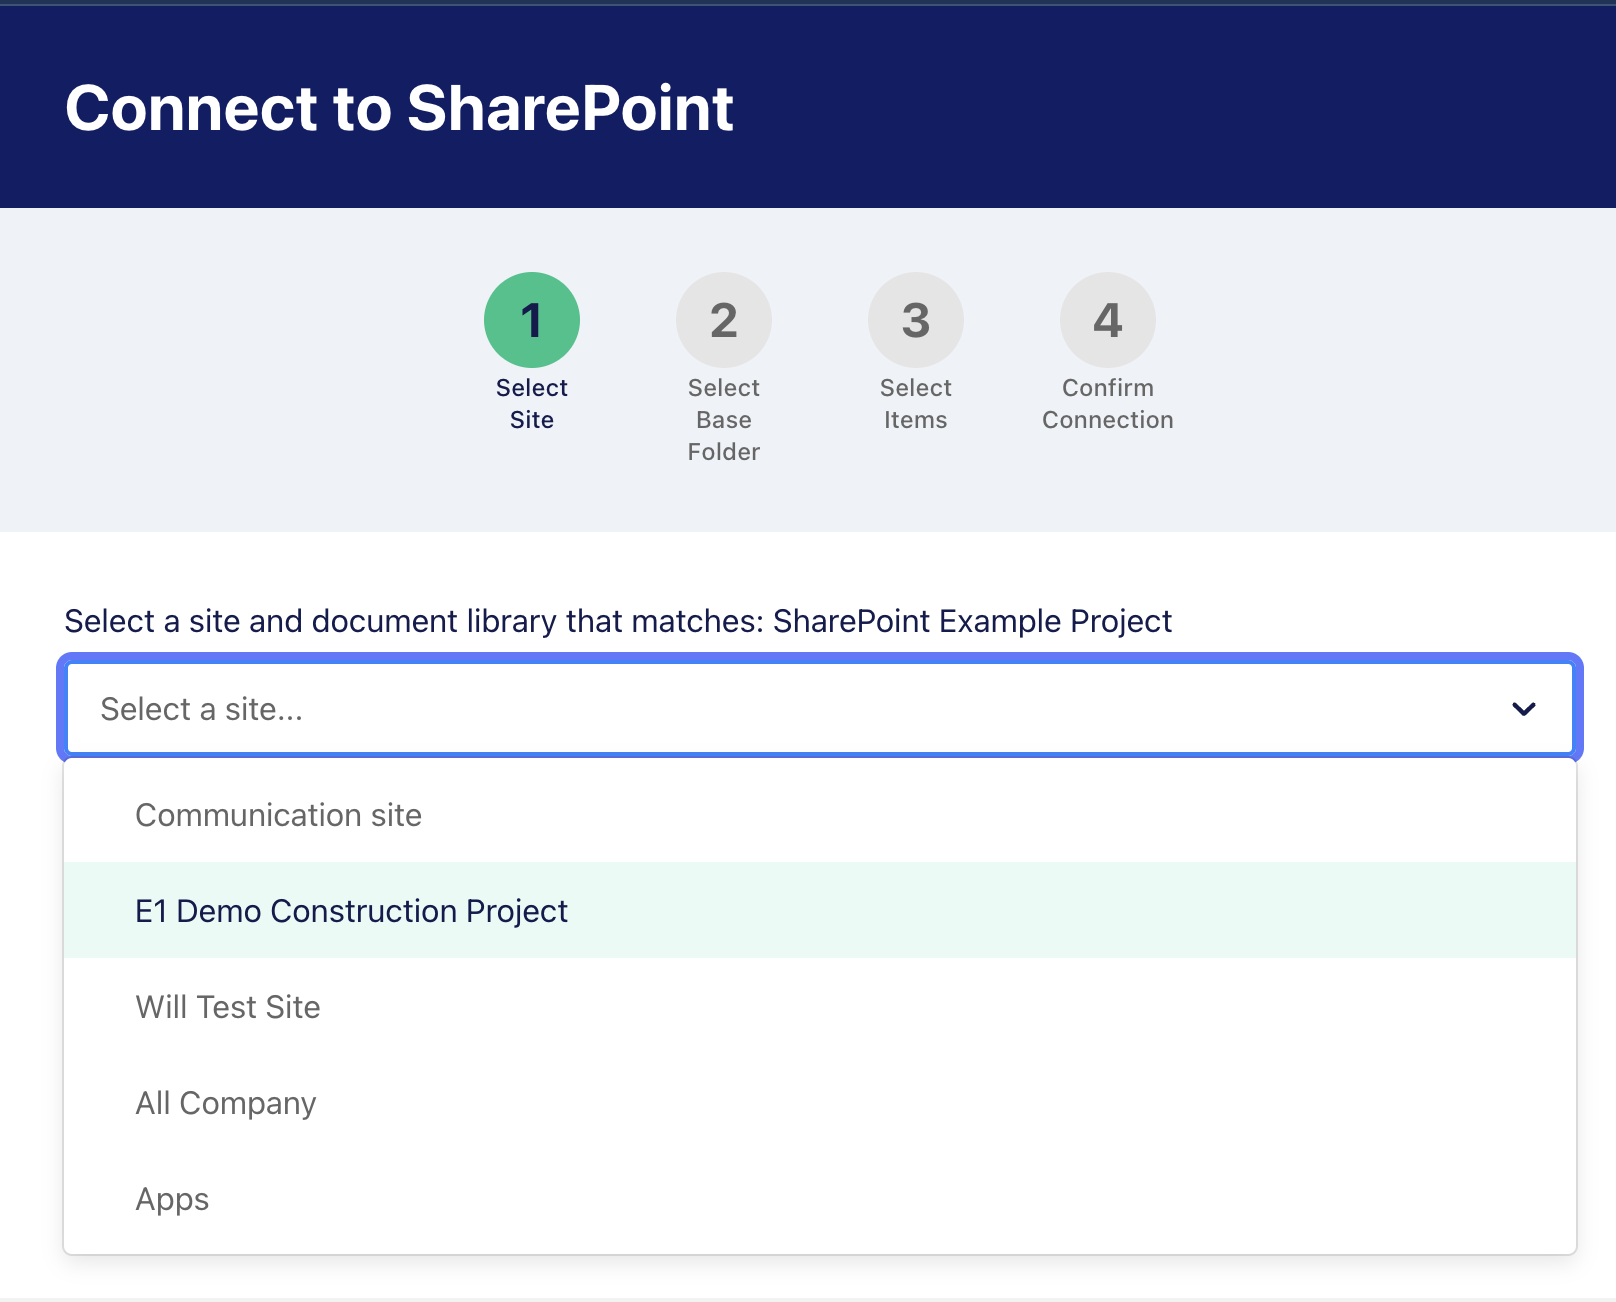
4. Choose a SharePoint Site
- You will see a list of SharePoint sites that you have access to
- Select the appropriate SharePoint site
- After selecting a site, the available drives (document libraries) within that site will be displayed
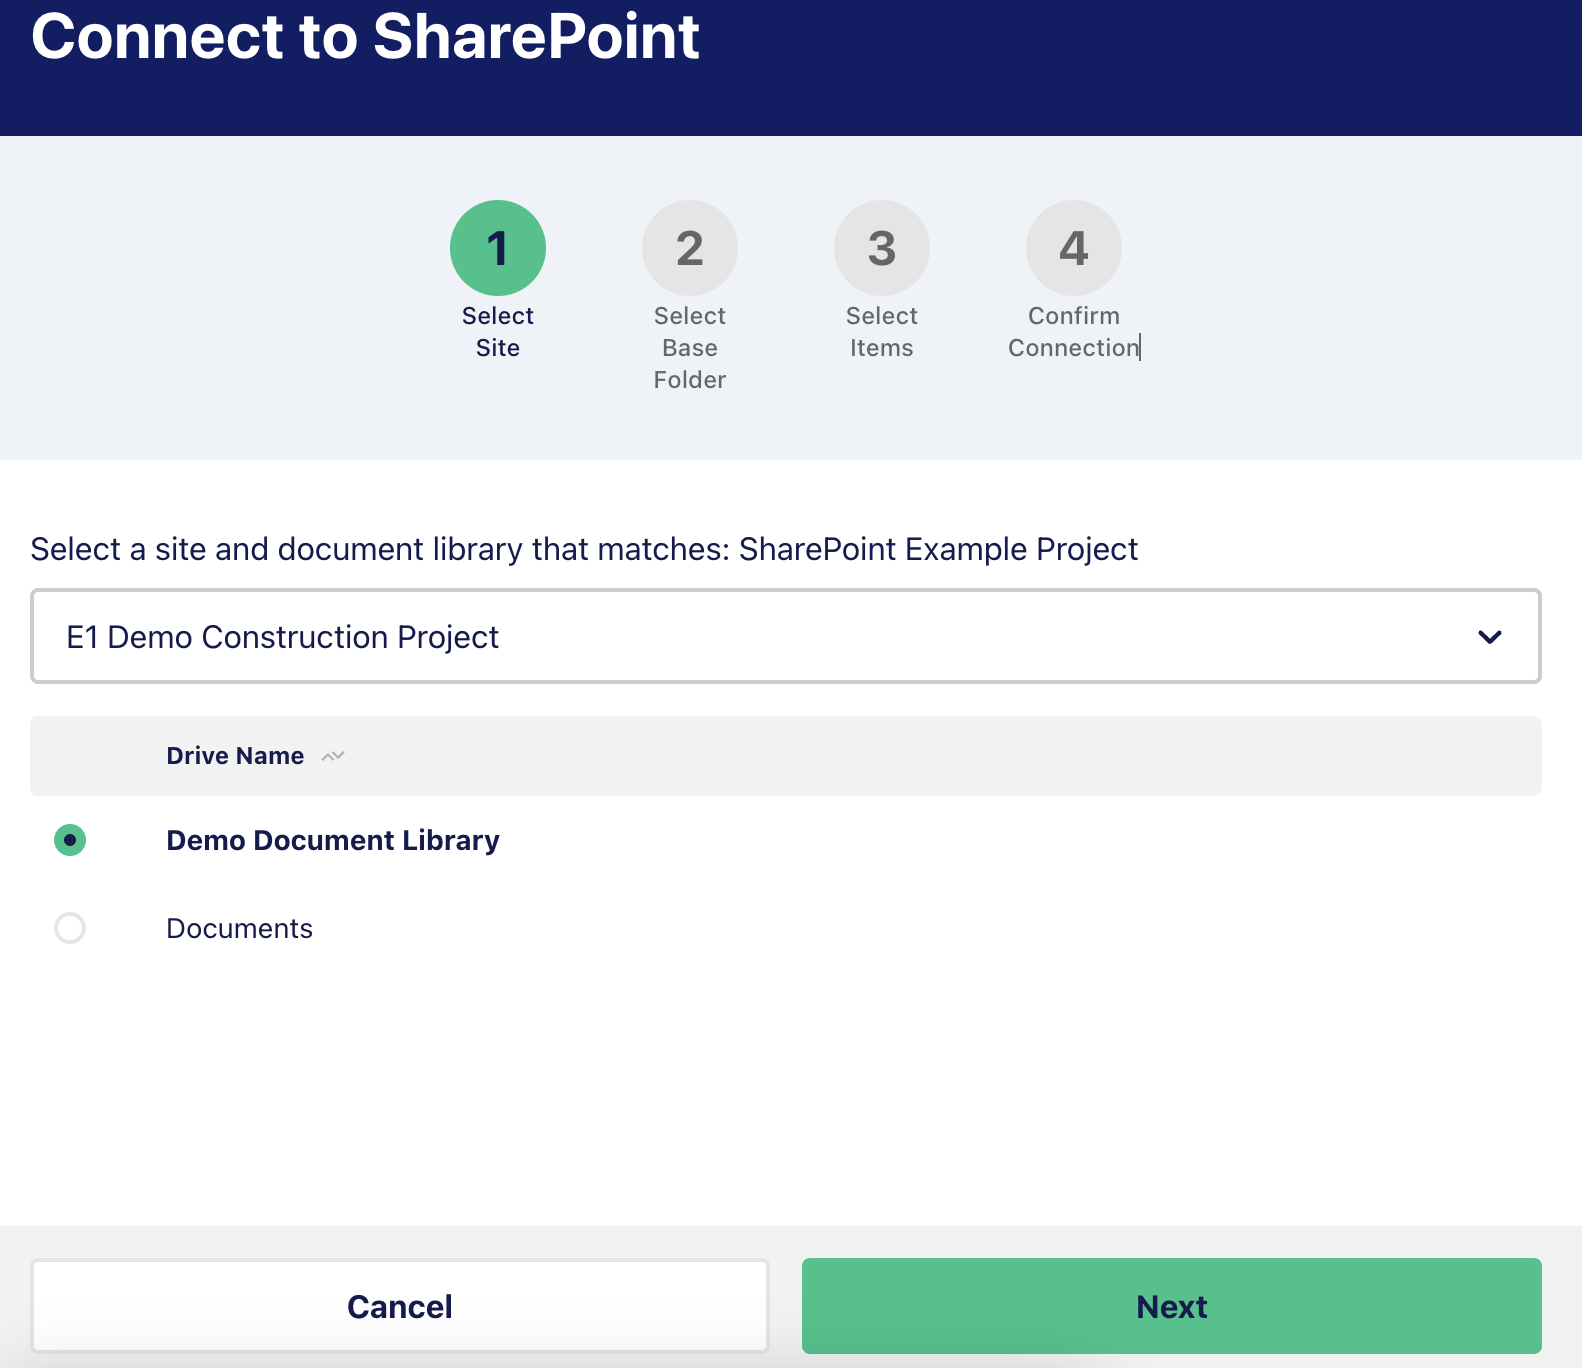
5. Select a Project File from SharePoint
- Drives in SharePoint are also known as document libraries
- Choose the drive where your project files are stored
- Click ‘Next’
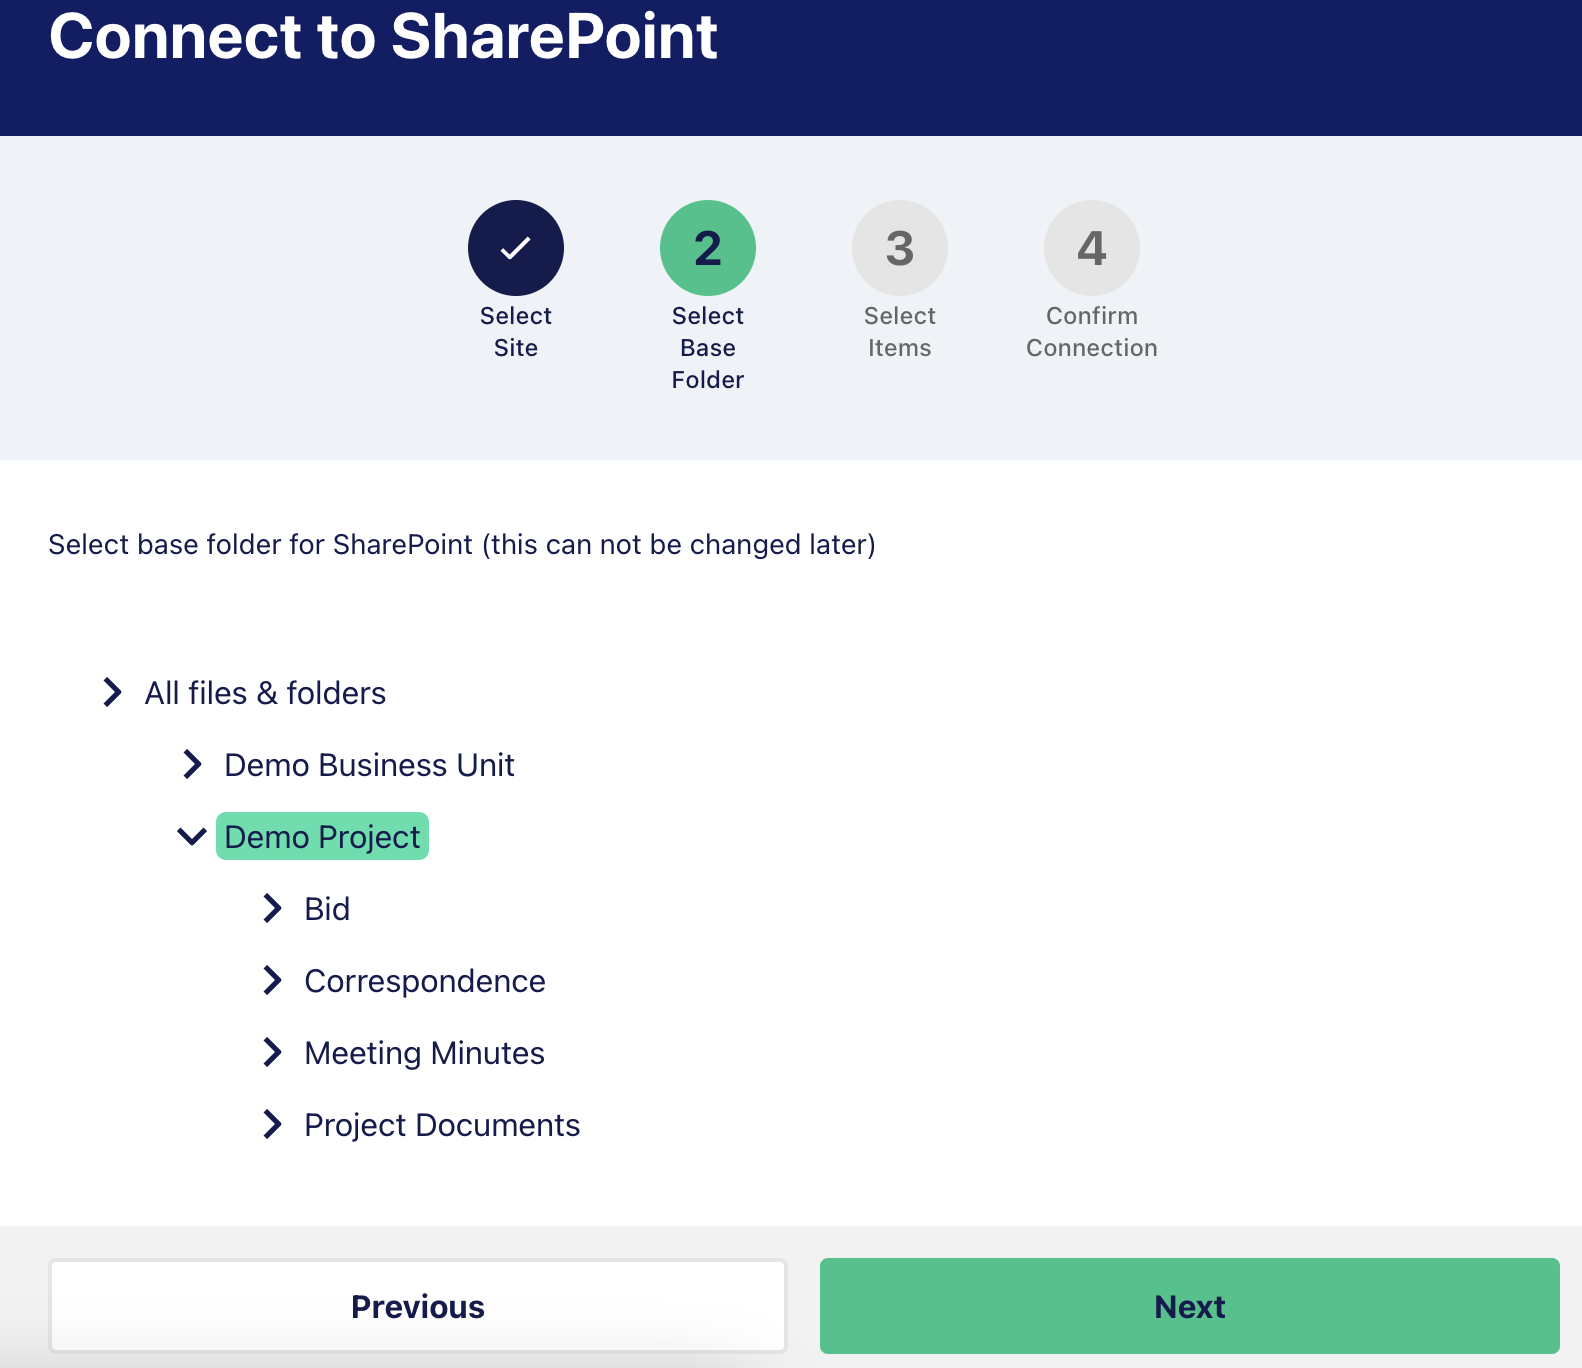
6. Select the Base Folder
- Navigate through the folder structure by clicking the arrows to expand directories
- Select a base folder for this project
Note: This selection cannot be changed after you Confirm Connection
- Click ‘Next’ to proceed
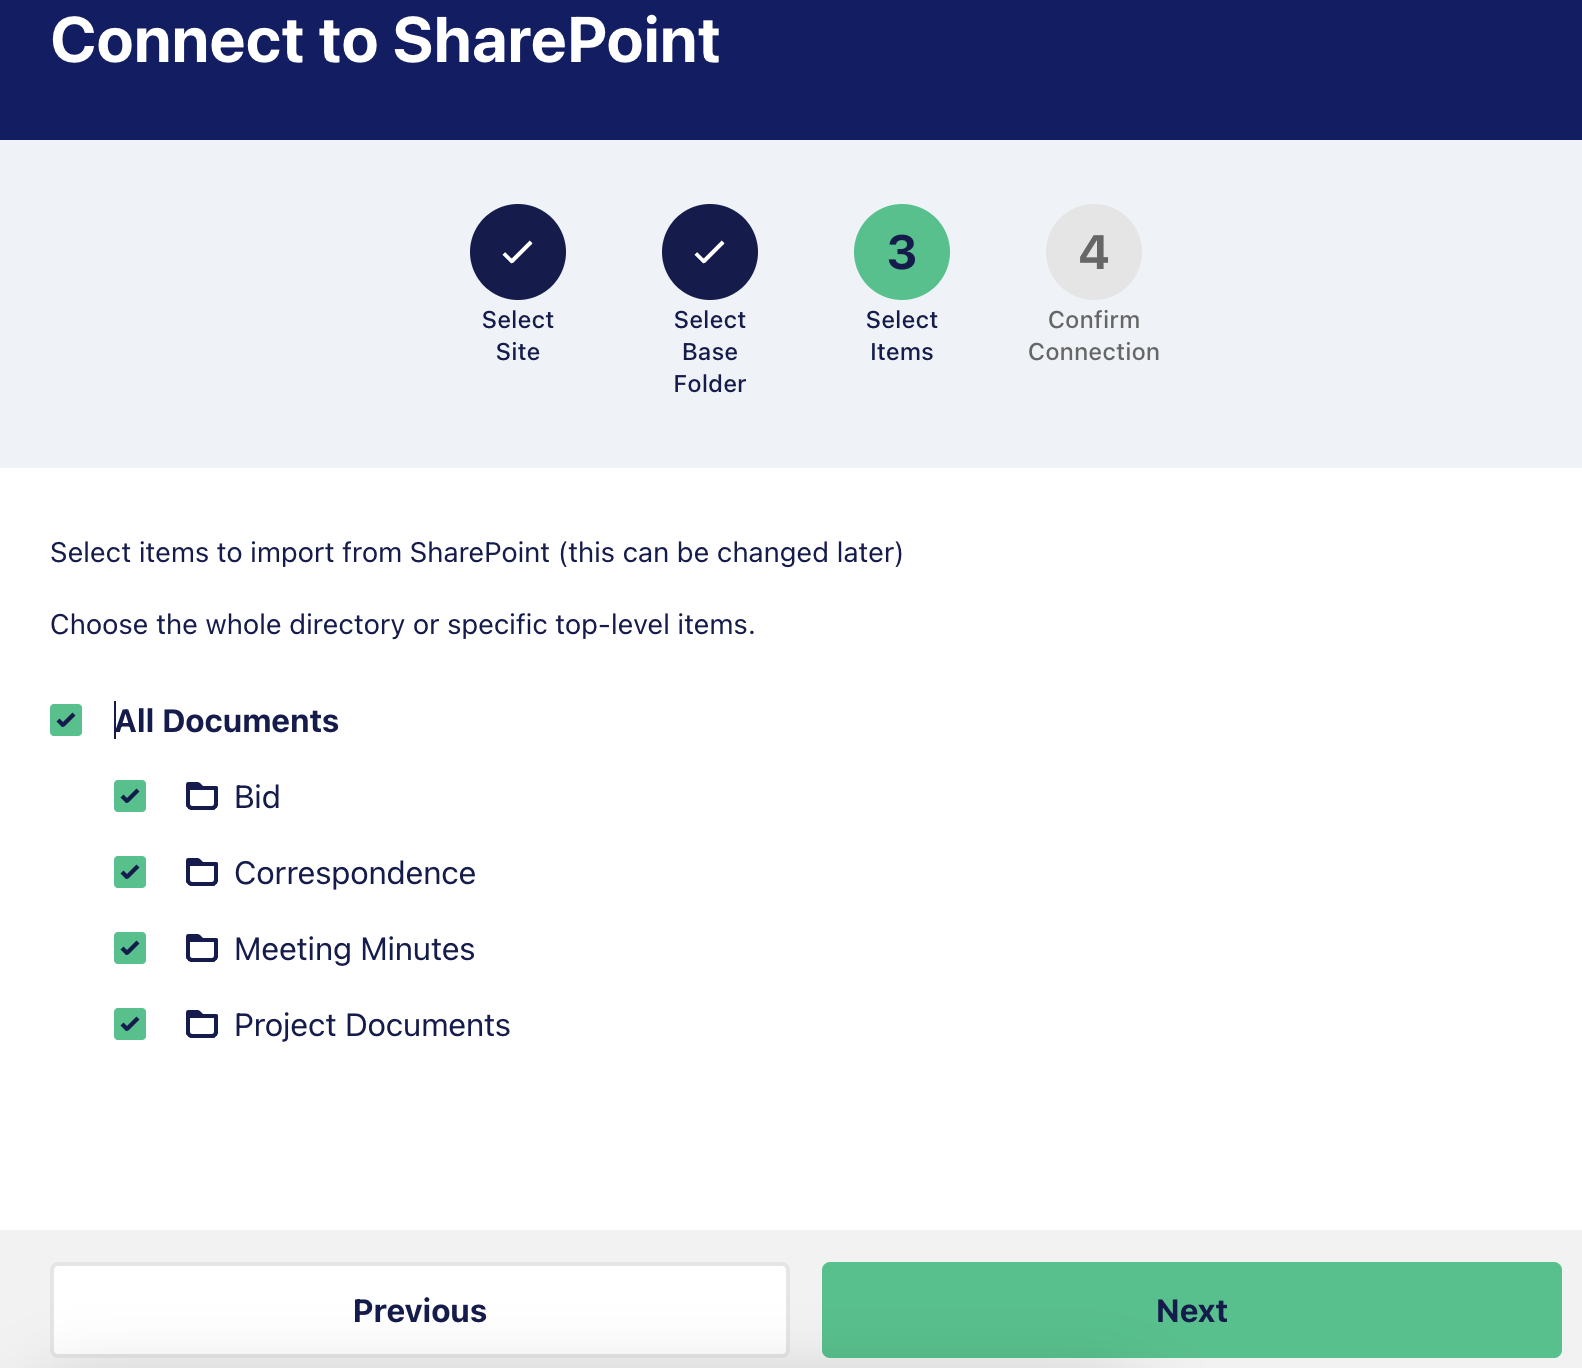
7. Review Folder Contents and Sync Selection
- The contents of the selected base folder will be displayed.
- At this stage, you cannot navigate deeper into subfolders
- You can still go back to change your base folder selection if necessary at this stage
- Choose which files and folders within the base folder you want to sync with your project
- Note that all files and sub-folders of the selected folders will be included and synced
- This selection can be modified later
- Click ‘Next’
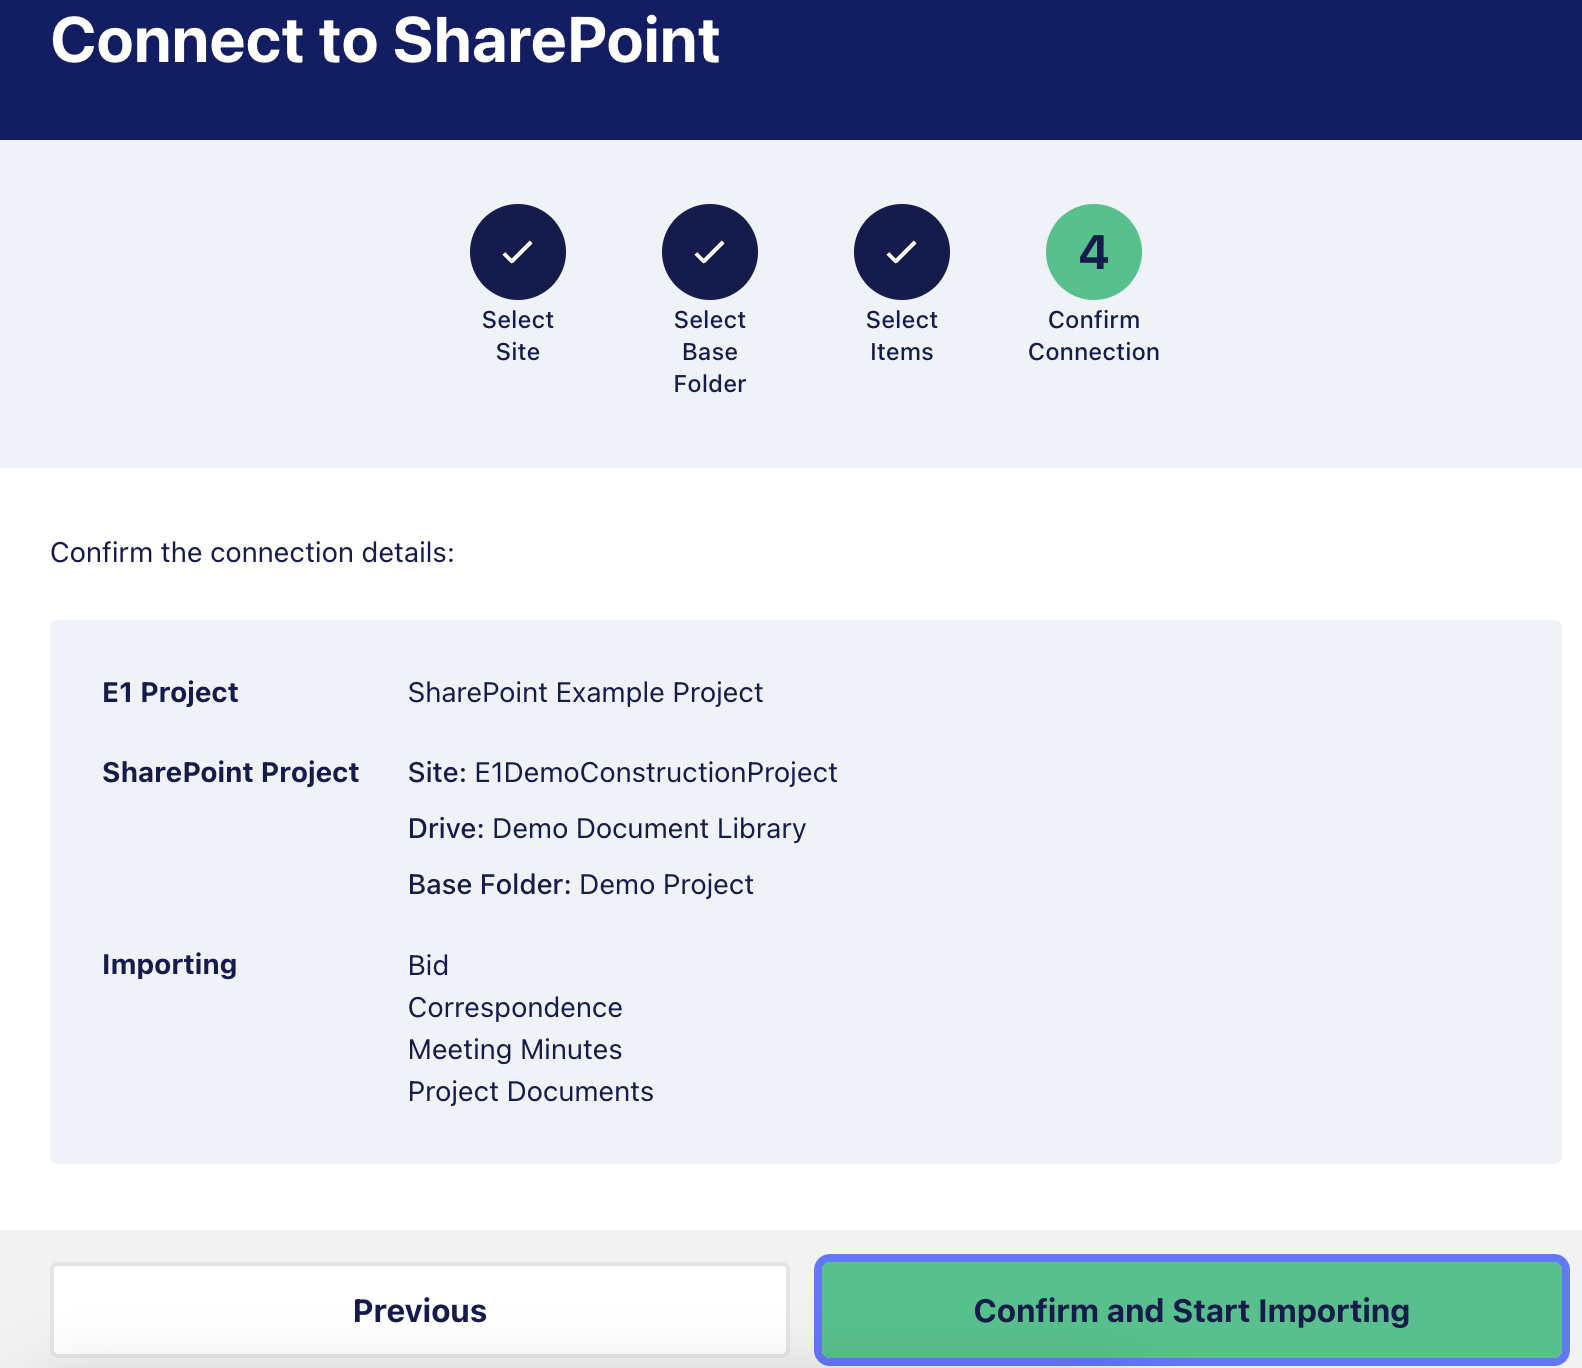
8. Confirm Integration
- A summary screen will display:
- The selected SharePoint site
- The selected drive
- The chosen base folder
- The specific files and folders selected for syncing
- If you’re happy with the selections, click ‘Confirm and Start Importing’
9. Initial File Sync
- A loading screen will appear as files are pulled from SharePoint, you can continue working in another tab while this process runs
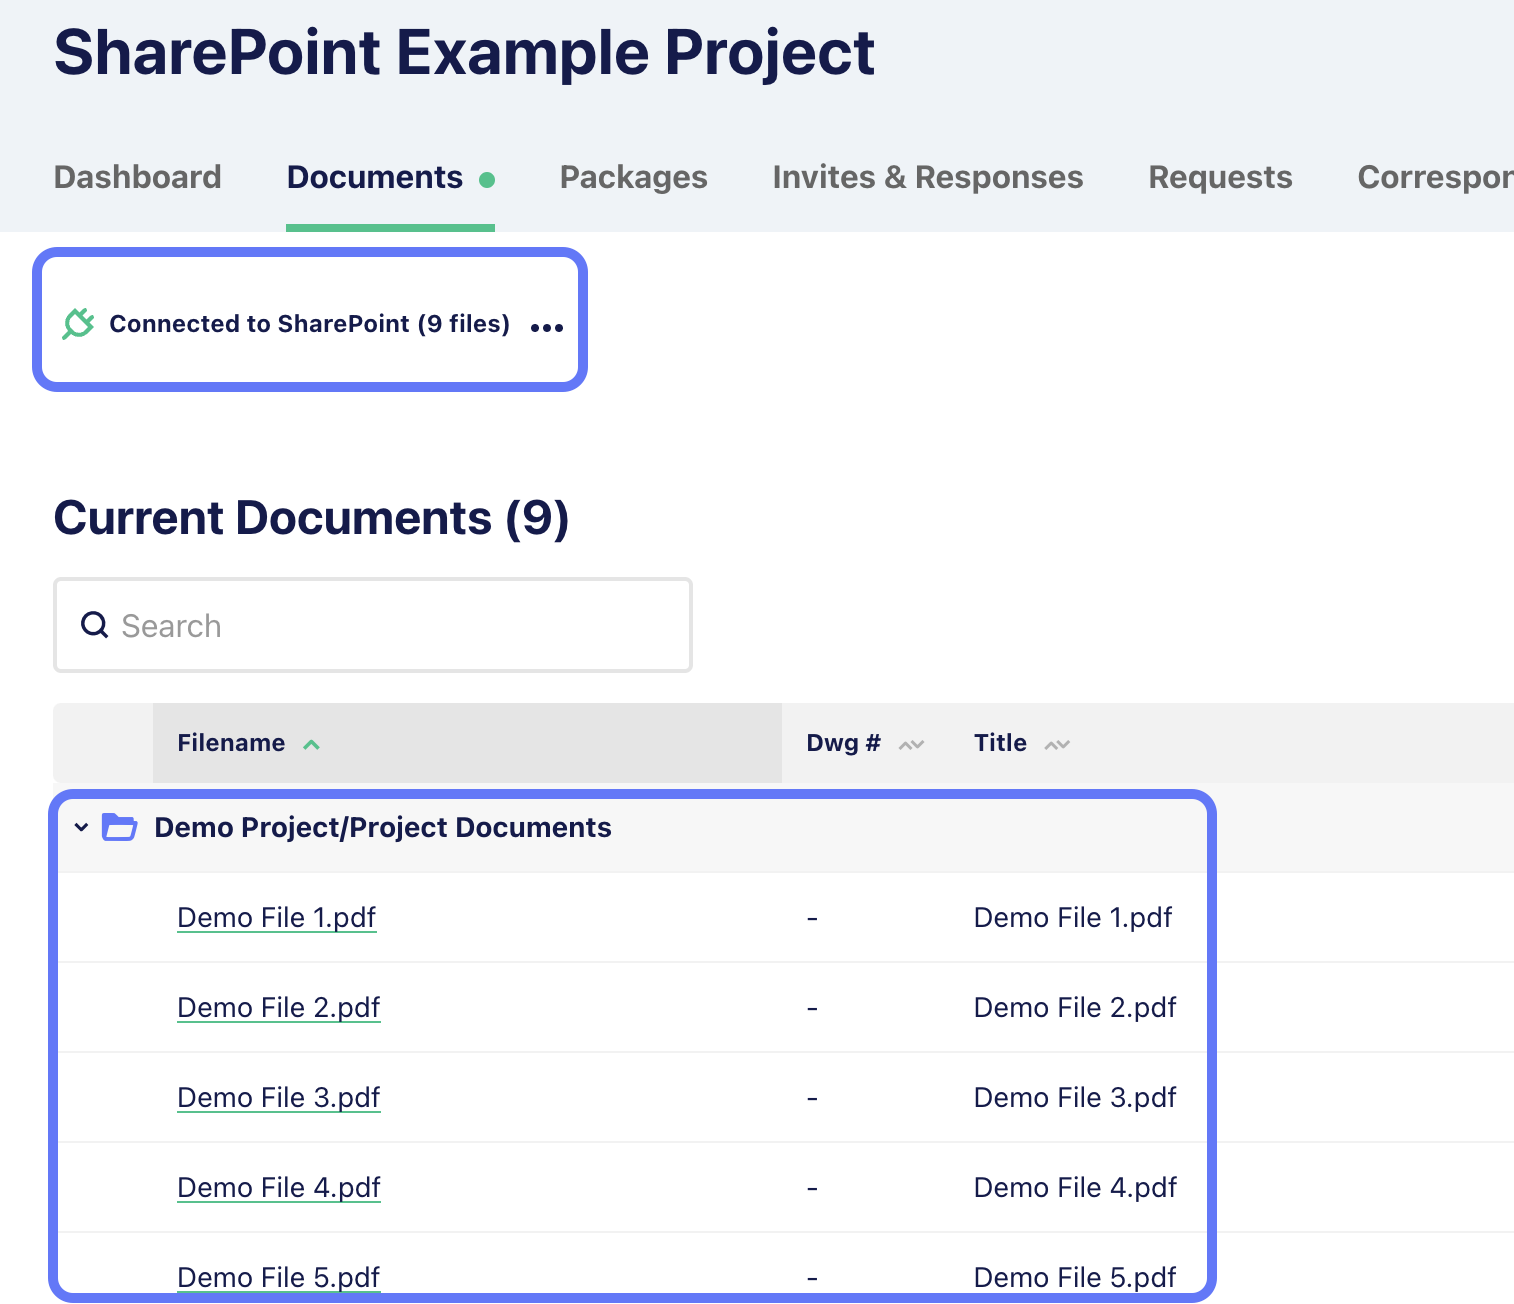
- Once complete, the page will refresh to display the synced files
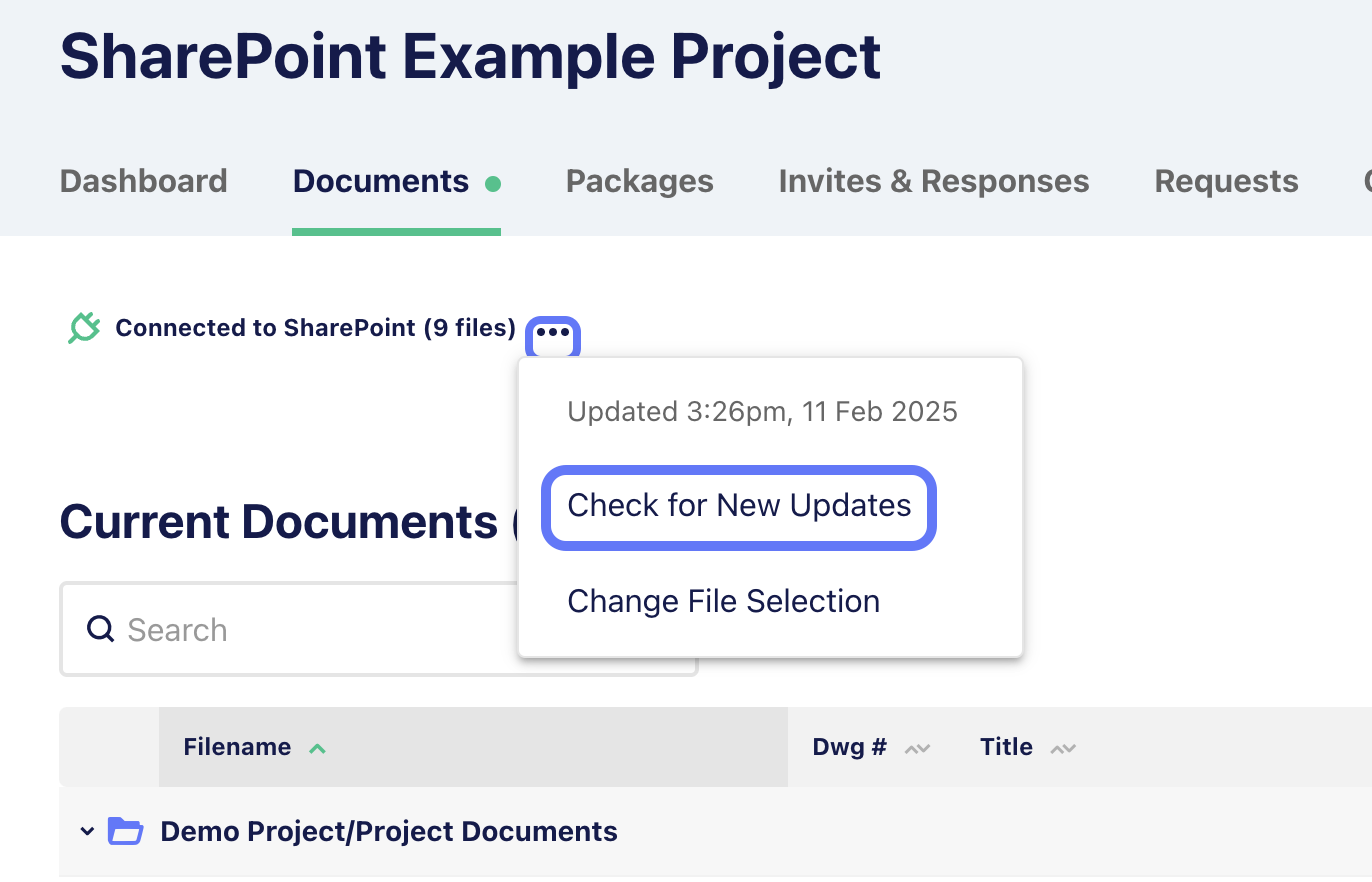
10. Automatic and Manual Syncing
- Files will sync with your SharePoint files automatically every hour
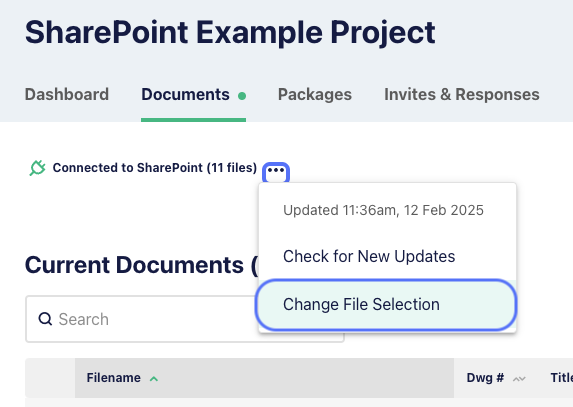
- To manually check for updates:
- Click the three dots next to ‘Connected to SharePoint’ and click ‘Check for New Updates’ you’ll also see the date and time of the last update here
- The system will check for updates and trigger necessary syncs
- Once complete, refresh the page to view new files
- Click the three dots next to ‘Connected to SharePoint’ and click ‘Check for New Updates’ you’ll also see the date and time of the last update here
11. Managing Synced Files and Addendums
- Any new or revised files added to a folder in SharePoint will update automatically under your Documents section as highlighted below.
- Modified files will trigger a revision and have a ‘Revised’ tag. If new files are added while there is an incomplete Revision, they will get added to the revision and get a ‘New’ tag. Tags are cleared when the Revision is finalised.

- You will be prompted to ‘Review updates and notify affected subcontractors’, click through to review changes and issue a notification

12. Changing File Selection
- Click ‘Change File Selection’ to modify which files and folders are synced to your project
- Select or deselect the files you now wish to include.
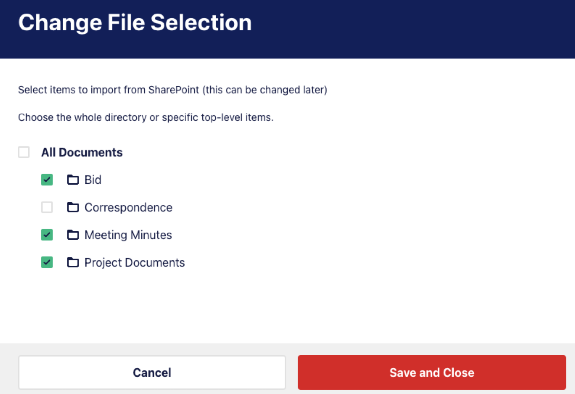
- If you are removing a file from the project, you will be prompted to confirm the deletion. Your SharePoint files won’t be affected by any changes made.
Note: The base folder cannot be changed, but file selections inside it can be updated. If you’ve nominated the wrong base folder, you will need to archive the project and start again.
Once your files and folders are finalised, you can proceed to the Document Matrix as normal.